Study in Canada
September 23, 2021

Top Steps You Must Know to Study in Canada – A Guide for Indian Students

Introduction

Canada continues to be one of the top study destinations for Indian students. Renowned for its high-quality education, multicultural cities, and excellent post-study work opportunities, the country attracts thousands of Indian aspirants each year. If you’re planning to begin your academic journey here, this step-by-step guide will help simplify the entire process.

A major reason for Canada’s popularity lies in its flexible education system, world-class infrastructure, experienced faculty, and industry-relevant curriculum. Institutions across the country offer a wide range of programs at the undergraduate, postgraduate, diploma, and research levels-designed to meet the diverse needs and goals of international students.

What truly sets Canadian education apart is its innovative teaching approach, which combines traditional and blended learning methods to encourage critical thinking, practical knowledge, and holistic development. This ensures that students not only gain academic excellence but are also well-equipped for global careers.

Canada also boasts one of the highest literacy rates in the world, with over 56% of its population having attained graduation – a clear indicator of the country’s strong focus on education.

All these factors make studying in Canada a top priority for many Indian students. However, to make your dream a reality, it’s important to understand the formalities – especially those related to obtaining a Canadian study permit. This comprehensive, step-by-step guide will walk you through the entire journey.

Step 1: Research Canadian Institutions and Programs
Step 2: Understand the Eligibility Requirements
Step 3: Prepare and Take Required Language Proficiency Tests
Step 4: Apply to Your Chosen Institutions
Step 5: Receive Your Letter of Acceptance (LOA)
Step 6: Apply for a Canadian Study Permit (Visa)
Step 7: Purchase Health Insurance
Step 8: Plan Your Accommodation and Travel
Step 9: Get Your Documents in Order Before Flying
Step 10: Settle In and Start Your Journey

Steps to Study in Canada are:

Step 1: Research Canadian Institutions and Programs

Start by identifying your academic goals and the type of qualification you want – be it a diploma, undergraduate degree, or postgraduate program. Then, shortlist institutions that match your criteria.

Things to consider:

  • Reputation and ranking of the university/college
  • Available programs and specializations
  • Location (urban vs. rural, weather, cost of living)
  • Tuition fees and scholarships
  • Student support services and campus life

Use official resources like the Canadian government website or university portals to get accurate information.

Step 2: Understand the Eligibility Requirements

Every institution has specific academic and language requirements.

Make sure you:

  • Meet the minimum percentage or GPA required
  • Have completed relevant prerequisite subjects
  • Prepare your Statement of Purpose (SOP), Letters of Recommendation (LORs), and resume/CV
  • Check whether additional documents like portfolios (for design/architecture programs) are needed

Step 3: Prepare and Take Required Language Proficiency Tests

To study in Canada, you’ll need to demonstrate proficiency in English or French.

Most institutions accept:

  • IELTS Academic (score range: 6.0 – 7.5)
  • TOEFL iBT
  • PTE Academic

Tips:

  • Register early as test dates fill up quickly
  • Allocate enough time for preparation
  • Aim for scores that exceed the minimum requirement to strengthen your application
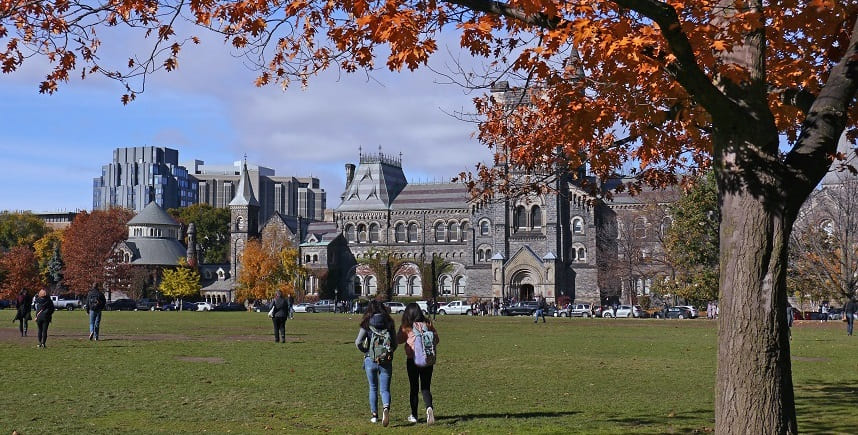
University in Canada

Step 4: Apply to Your Chosen Institutions

Once you’ve finalized your list of institutions:

  • Apply through the official university websites or via provincial portals (like Ontario’s OUAC)
  • Fill out the application form carefully
  • Upload scanned documents (transcripts, language test scores, SOP, etc.)
  • Pay the application fee (usually CAD 100–150 per application)

Keep an eye on application deadlines, which vary by intake (Fall, Winter, Summer).

Step 5: Receive Your Letter of Acceptance (LOA)

If your application is successful, you’ll receive an official Letter of Acceptance (LOA) from the institution.

This document is crucial for:

  • Applying for your study permit
  • Opening a Guaranteed Investment Certificate (GIC)
  • Planning your next steps

Ensure the LOA comes from a Designated Learning Institution (DLI), as only DLIs are eligible for visa processing.

Step 6: Apply for a Canadian Study Permit (Visa)

A study permit is not the same as a visa – it’s your authorization to study in Canada for more than 6 months.

What you’ll need:

  • LOA from a DLI
  • Valid passport
  • Proof of funds (tuition + CAD 10,000–15,000 for living expenses)
  • Immigration Medical Examination (IME) report (if required)
  • Biometrics and photograph
  • Visa application fee (CAD 150)

You can apply online via IRCC’s website.

Step 7: Purchase Health Insurance

Health insurance is mandatory in most Canadian provinces. Coverage requirements depend on your study location:

  • Provinces like Alberta, British Columbia, and Manitoba may offer provincial healthcare to international students.
  • Others like Ontario and Quebec require students to buy private insurance.

Check with your institution – many offer student health insurance plans as part of your tuition.

Student in Canada

Step 8: Plan Your Accommodation and Travel

Once your visa is approved, begin planning your move.

Accommodation options:

  • On-campus housing (dormitories)
  • Off-campus rentals (apartments or shared housing)
  • Homestays with Canadian families

Flight & travel:

  • Book your ticket early to get competitive rates
  • Arrive 2 – 3 weeks before your course starts to settle in
  • Join university WhatsApp or Facebook groups to connect with peers and find housing

Step 9: Get Your Documents in Order Before Flying

Before boarding your flight, make sure you carry these documents:

  • Passport and visa/study permit
  • LOA and tuition fee receipts
  • GIC certificate and proof of funds
  • Accommodation proof
  • Travel insurance (if needed)
  • Contact details for your university and emergency numbers

Pro Tip: Organize everything in a folder and keep digital copies as backup.

Step 10: Settle In and Start Your Journey

Congratulations, you’ve made it to Canada! Now it’s time to adjust and thrive.

Here’s what to do in your first few weeks:

  • Attend orientation sessions
  • Register for classes and get your student ID
  • Open a local bank account
  • Get a SIM card with data
  • Familiarize yourself with public transportation
  • Explore campus resources like counseling, academic support, and student clubs

Conclusion

Your journey to study in Canada might seem long and complex, but with the right planning, it becomes a smooth and exciting adventure. From choosing the right university to adjusting to your new life, each step builds toward a brighter future. So, take that first step today – because your Canadian dream is waiting!

As Seen in Media

Featured Across

We are featured in almost every promianent media group for our customer-centric approach and solution-oriented services.